1. Install Zabbix repository:
wget https://repo.zabbix.com/zabbix/7.0/raspbian/pool/main/z/zabbix-release/zabbix-release_7.0-1+debian12_all.deb

sudo dpkg -i zabbix-release_7.0-1+debian12_all.deb

sudo apt update -y
2. Install Zabbix server, frontend, agent:
sudo apt install zabbix-server-pgsql zabbix-frontend-php php8.2-pgsql zabbix-apache-conf zabbix-sql-scripts zabbix-agent -y
3. Install and configure Postgresql:
sudo apt install postgresql postgresql-contrib -y

sudo systemctl enable --now postgresql.service

sudo passwd postgres

su - postgres

psql postgres

# ALTER ROLE postgres PASSWORD 'yourPassWord';
sudo vi +60 /etc/postgresql/15/main/postgresql.conf
# like below:
listen_addresses = 'localhost'          # what IP address(es) to listen on;

sudo vi +95 /etc/postgresql/15/main/pg_hba.conf
# like below:
# Database administrative login by Unix domain socket
local   all             postgres                                md5

# TYPE  DATABASE        USER            ADDRESS                 METHOD
# "local" is for Unix domain socket connections only
local   all             all                                     md5
# IPv4 local connections:
host    all             all             192.168.x.x/24            md5
host    all             all             127.0.0.1/32            md5

sudo systemctl restart postgresql
# test: psql -U postgres
4. Create initial database:
sudo -u postgres createuser --pwprompt zabbix

sudo -u postgres createdb -O zabbix zabbix

sudo zcat /usr/share/zabbix-sql-scripts/postgresql/server.sql.gz | PGPASSWORD='yourPassword' psql -U zabbix -d zabbix -h localhost
5. Configure the database for Zabbix server:
sudo vi +131 /etc/zabbix/zabbix_server.conf
# set password: DBPassword=password
6. Start Zabbix server and agent processes:
sudo systemctl enable zabbix-server zabbix-agent apache2
sudo systemctl restart zabbix-server zabbix-agent apache2
7. Open server’s port 80, 10051 and agent’s port 10050
8. Open Zabbix UI web page(ID: Admin, password: zabbix):
http://host/zabbix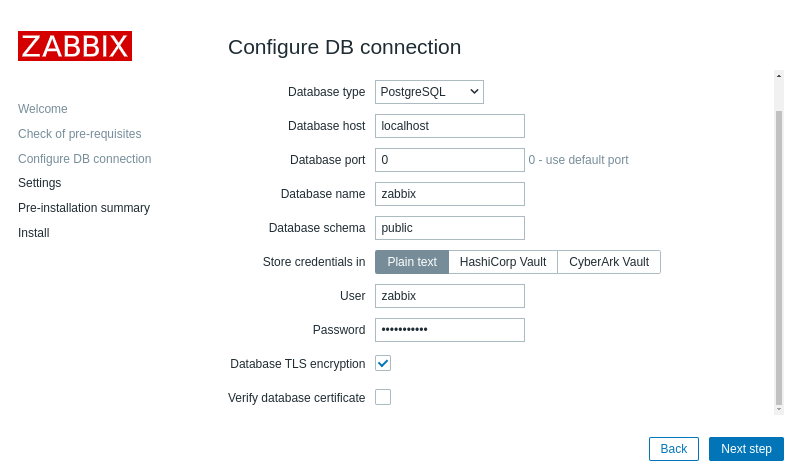

9. Install windows client agent:
4 Windows agent installation from MSI
Change zabbix_agent2.conf (write explicitly):
Hostname should be same as registered agent’s hostname in zabbix web console.
Server=
ListenPort=
ServerActive=
Hostname=
C:\Program Files\Zabbix Agent 2>zabbix_agent2.exe --config zabbix_agent2.conf --stop

C:\Program Files\Zabbix Agent 2>zabbix_agent2.exe --config zabbix_agent2.conf --start
10. Install Raspberry Pi OS client agent:
Download and install Zabbix Agent2
wget -c https://repo.zabbix.com/zabbix/7.0/raspbian/pool/main/z/zabbix-release/zabbix-release_7.0-1+debian11_all.deb

sudo dpkg -i zabbix-release_7.0-1+debian11_all.deb

sudo apt update -y

sudo apt install zabbix-agent2 zabbix-agent2-plugin-* -y

sudo vi +80 /etc/zabbix/zabbix_agent2.conf
sudo vi +88 /etc/zabbix/zabbix_agent2.conf
sudo vi +133 /etc/zabbix/zabbix_agent2.conf
sudo vi +144 /etc/zabbix/zabbix_agent2.conf

sudo systemctl enable --now zabbix-agent2
sudo systemctl restart zabbix-agent2
reference:
Unable to determine current Zabbix database version: the table “dbversion” was not found
